A garden path can seem like a small part of an overall landscape design or outdoor area. However, making sure it serves its purpose and fits your space requires as much careful consideration as the other aspects.
When choosing landscaping materials and designing your path, safety must be as much a priority as style. Rain, ice, snow and frost can turn an outdoor surface into an ice rink.
Of course, applying salt and grit can temporarily help reduce the risk of slipping, but landscape architects recommend longer-term measures and tricks to prevent your garden path and other paved areas from becoming dangerous in the winter.
Discover what experts suggest and how to create a path that is as safe as possible and attractive to boot.
1. Choose textured materials
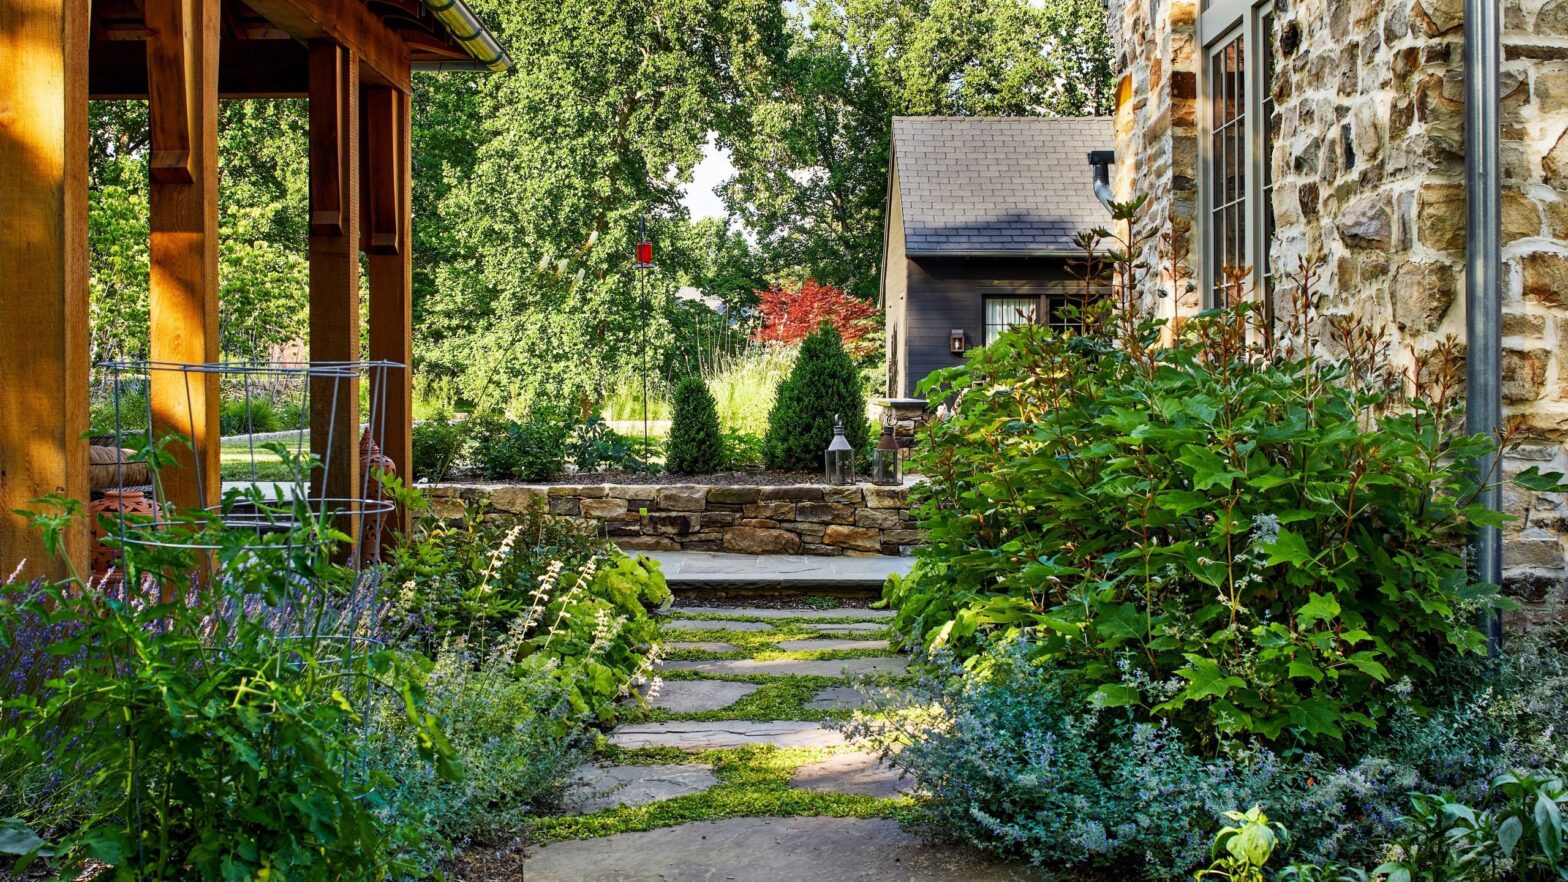
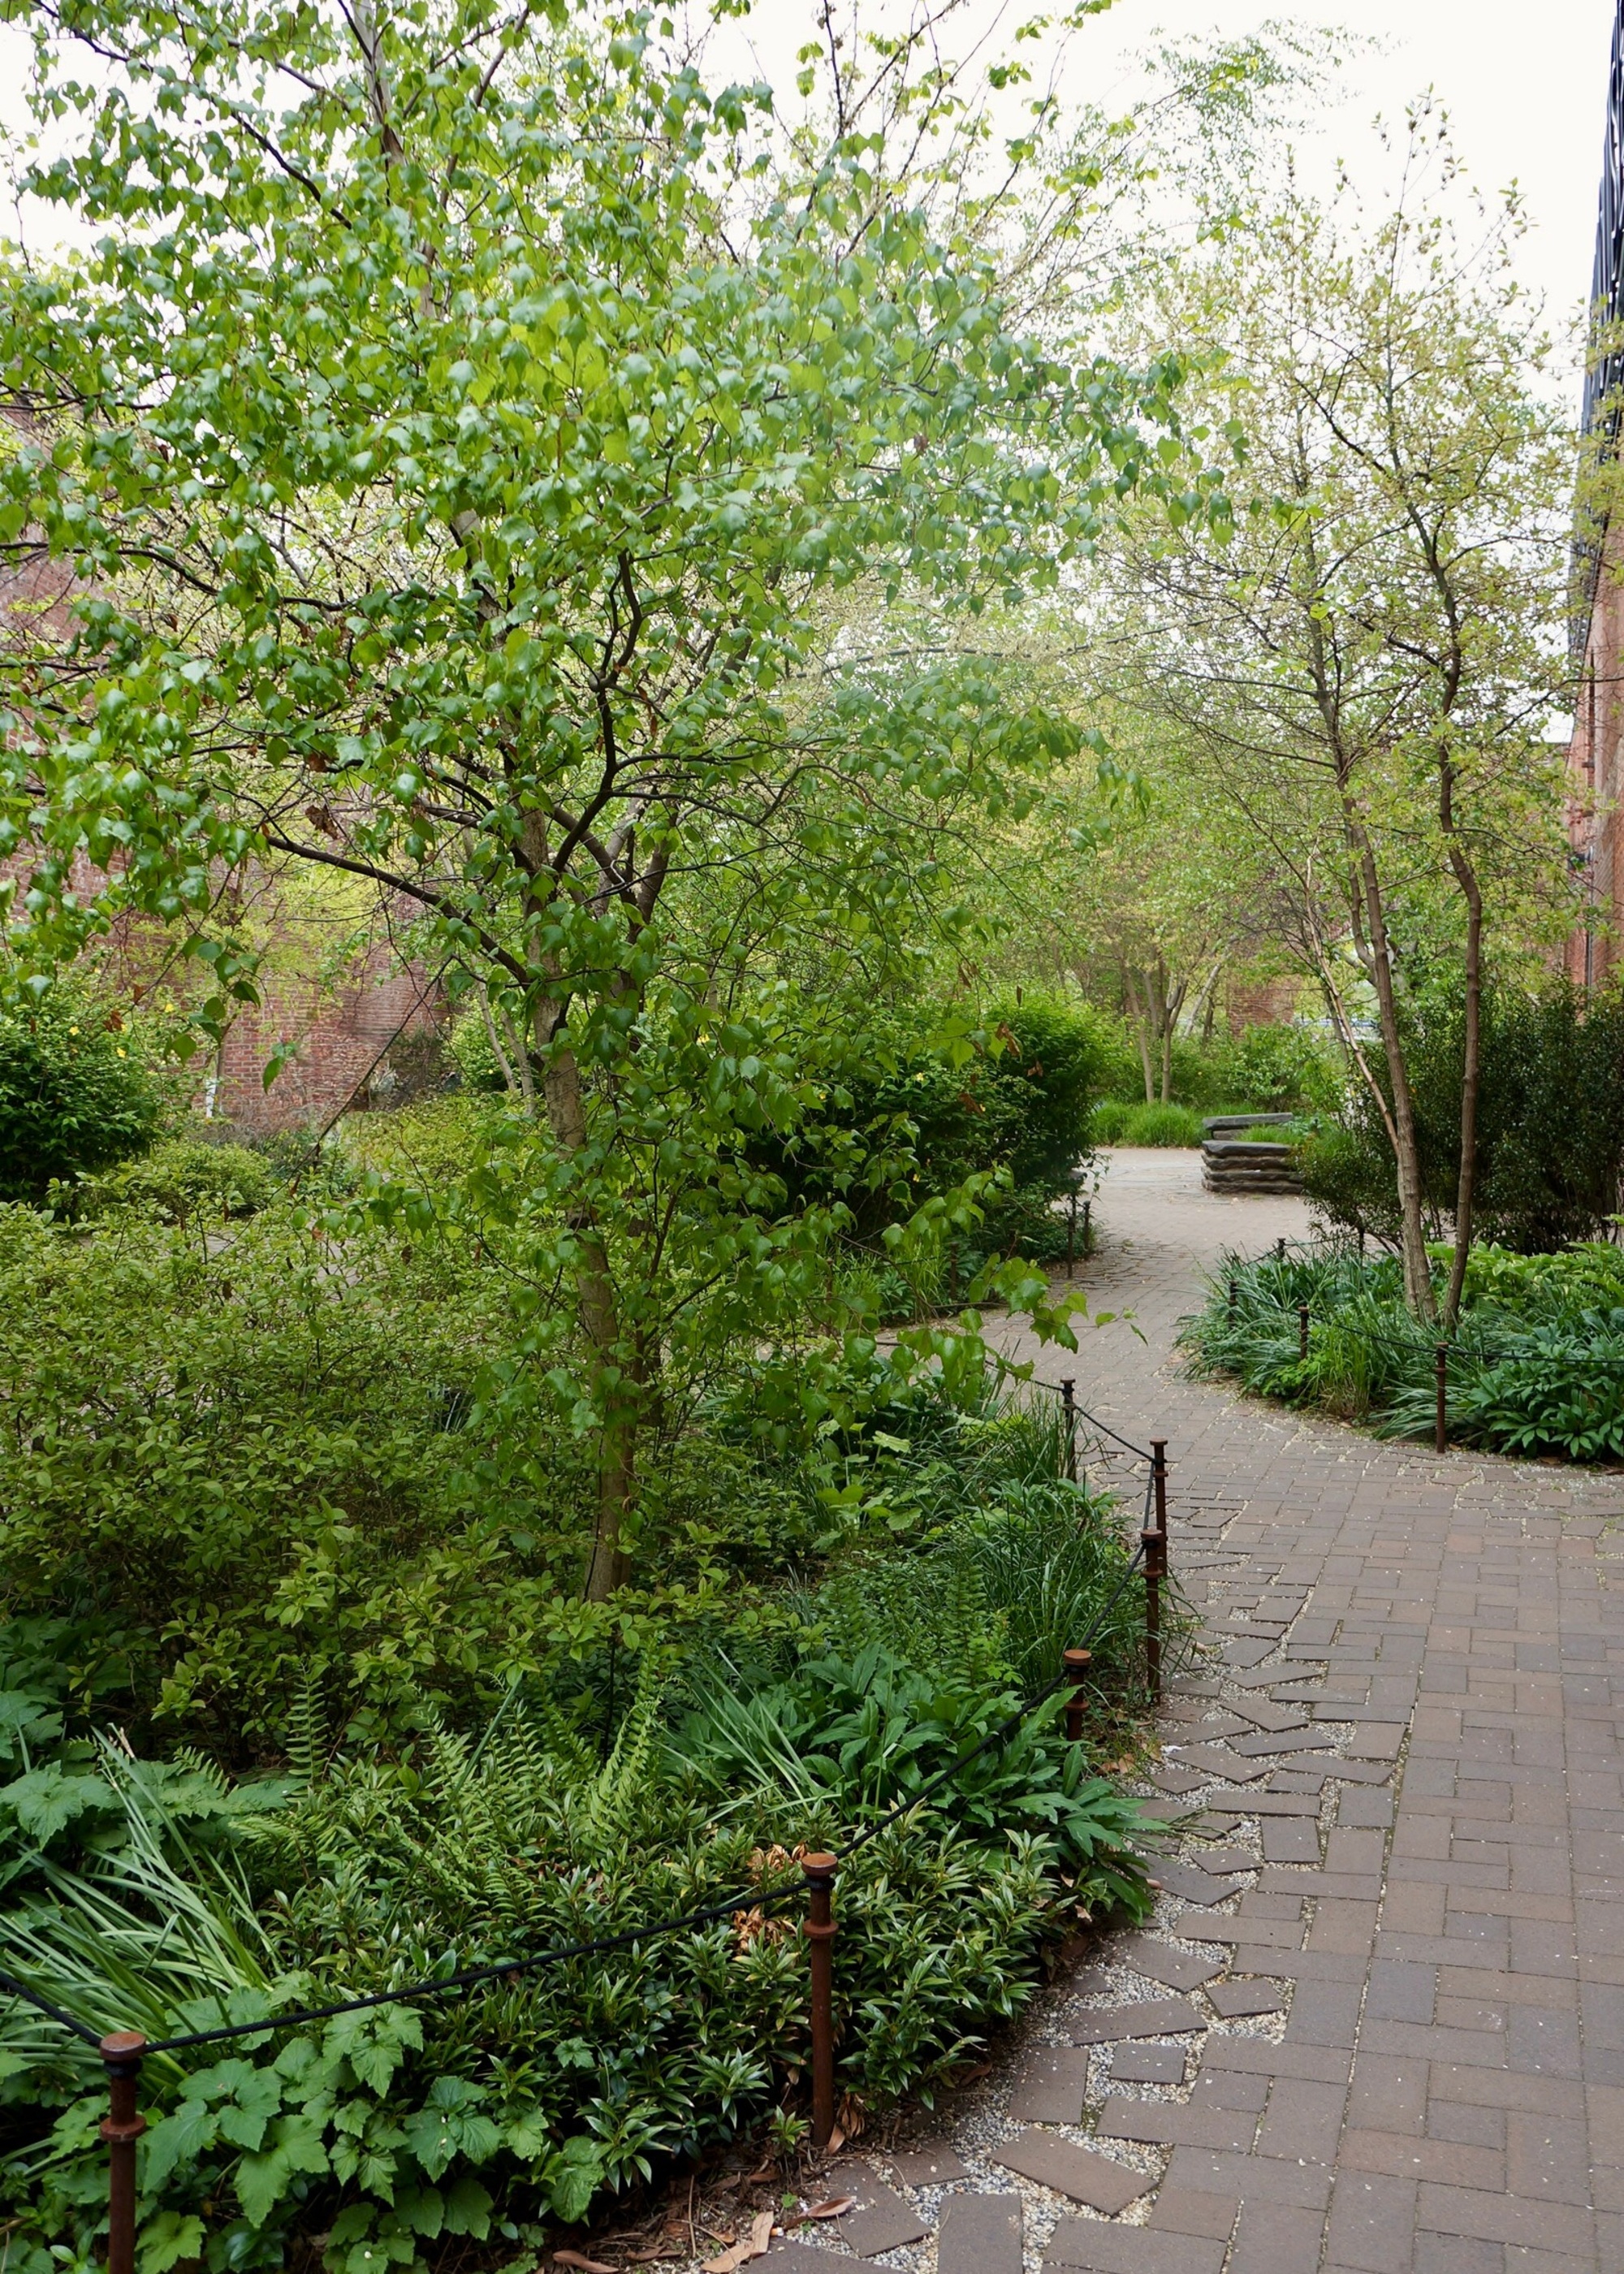
Staggered slabs between pebbles create an attractive path with structure, drainage and style.
(Image credit: Rachel Oates. Design: East London Garden Design)
We understand that with so many beautiful tile trends, it's tempting to only consider the look and cost of a garden path. But the practical aspects must also be on your priority list.
Textured materials offer better surface adhesion than smooth surfaces. So before you decide on a design, consider how the material will behave in practice, especially in winter weather.
“Choose materials with a natural texture and good grip when wet, such as rough-cut stones, textured concrete pavers or gravel,” says Adam Sexton, landscape architect and senior associate at Richardson & Associates. “Avoid smooth surfaces as these are more prone to slipping.”
“In the UK’s humid climate, where rain, frost and algae are regular guests, surface finish is the best defense against a slippery path,” says Gina Taylor, founder of East London Garden Design. “Replace smooth stone with surfaces that provide support in wet and cold conditions: look for split or sawn and textured sandstone, flamed or shot-blasted granite, or lightly hammered limestone.
“Outdoor-grade porcelain with a slip resistance rating of at least R11 (ideally R12) also performs excellently, offering both style and durability. Resin-bonded gravel is another excellent choice – its porous structure allows water to drain away quickly, reducing the formation of films and moss on the surface,” adds Gina.

Adam is a landscape architect, creative thinker and garden lover. He joined Richardson&Associates in 2020 and has a passion for residential landscapes and ecological restoration. Adam earned his bachelor's degree in landscape architecture from Virginia Tech in 2010 and has more than a decade of experience in detailed design and construction implementation for projects ranging from public parks and campuses to international urban planning and community master planning.

Gina Taylor is the founder and lead designer of East London Garden Design, a studio specializing in contemporary urban gardens, courtyards and rooftops. Based in East London, Gina is passionate about creating outdoor spaces that feel like a true extension of the home – places that are welcoming, personal and connected to their surroundings.
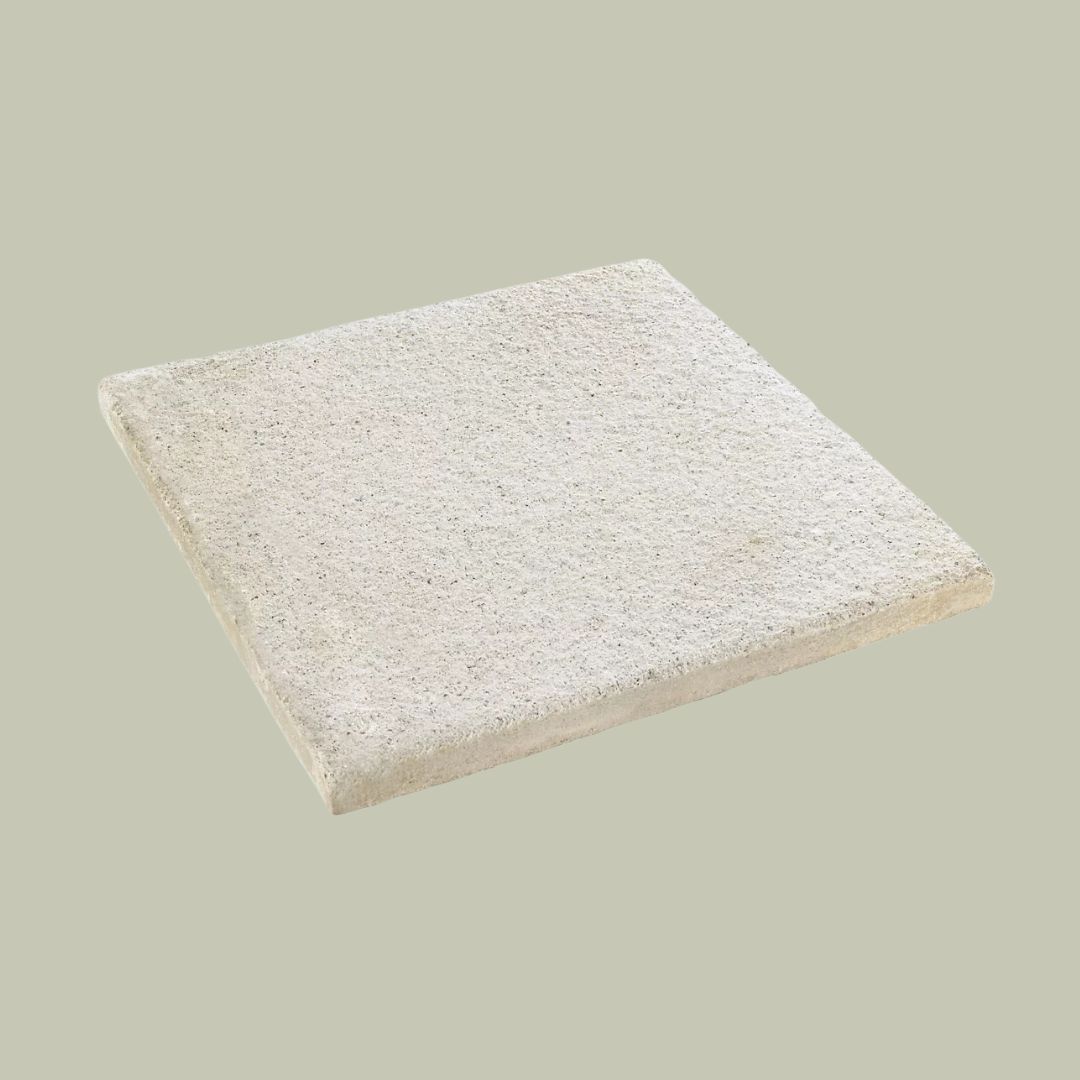
trading point
Bradstone textured gray engineered stone paving slab
Size: 0.2 m² (L) 450 mm (W) 450 mm
2. Apply surface texture treatments
Textured finishes can be applied after the fact if you already have a path you like.
(Image credit: Richardson & Associates)
Of course, it's entirely possible that you've inherited an existing garden path and want to keep it or don't have the budget to replace it. Alternatively, you may have seen slabs or stones that you want for a new path, but the surface is smooth. In this case, experts recommend applying a textured finish.
“For better traction, it’s a good idea to use textured surfaces, sandblasting, or aggregate mixes,” says Adam. “If necessary, existing paths can also be provided with anti-slip surfaces.”
If you're keeping existing flooring, Gina says, “A clear anti-slip finish with a fine-grain additive can add subtle texture and additional traction without altering the appearance.”
Are you looking for a good anti-slip seal? This Sika patio sealant from Amazon, priced at just £17.54, should do the trick.
3. Design in drainage
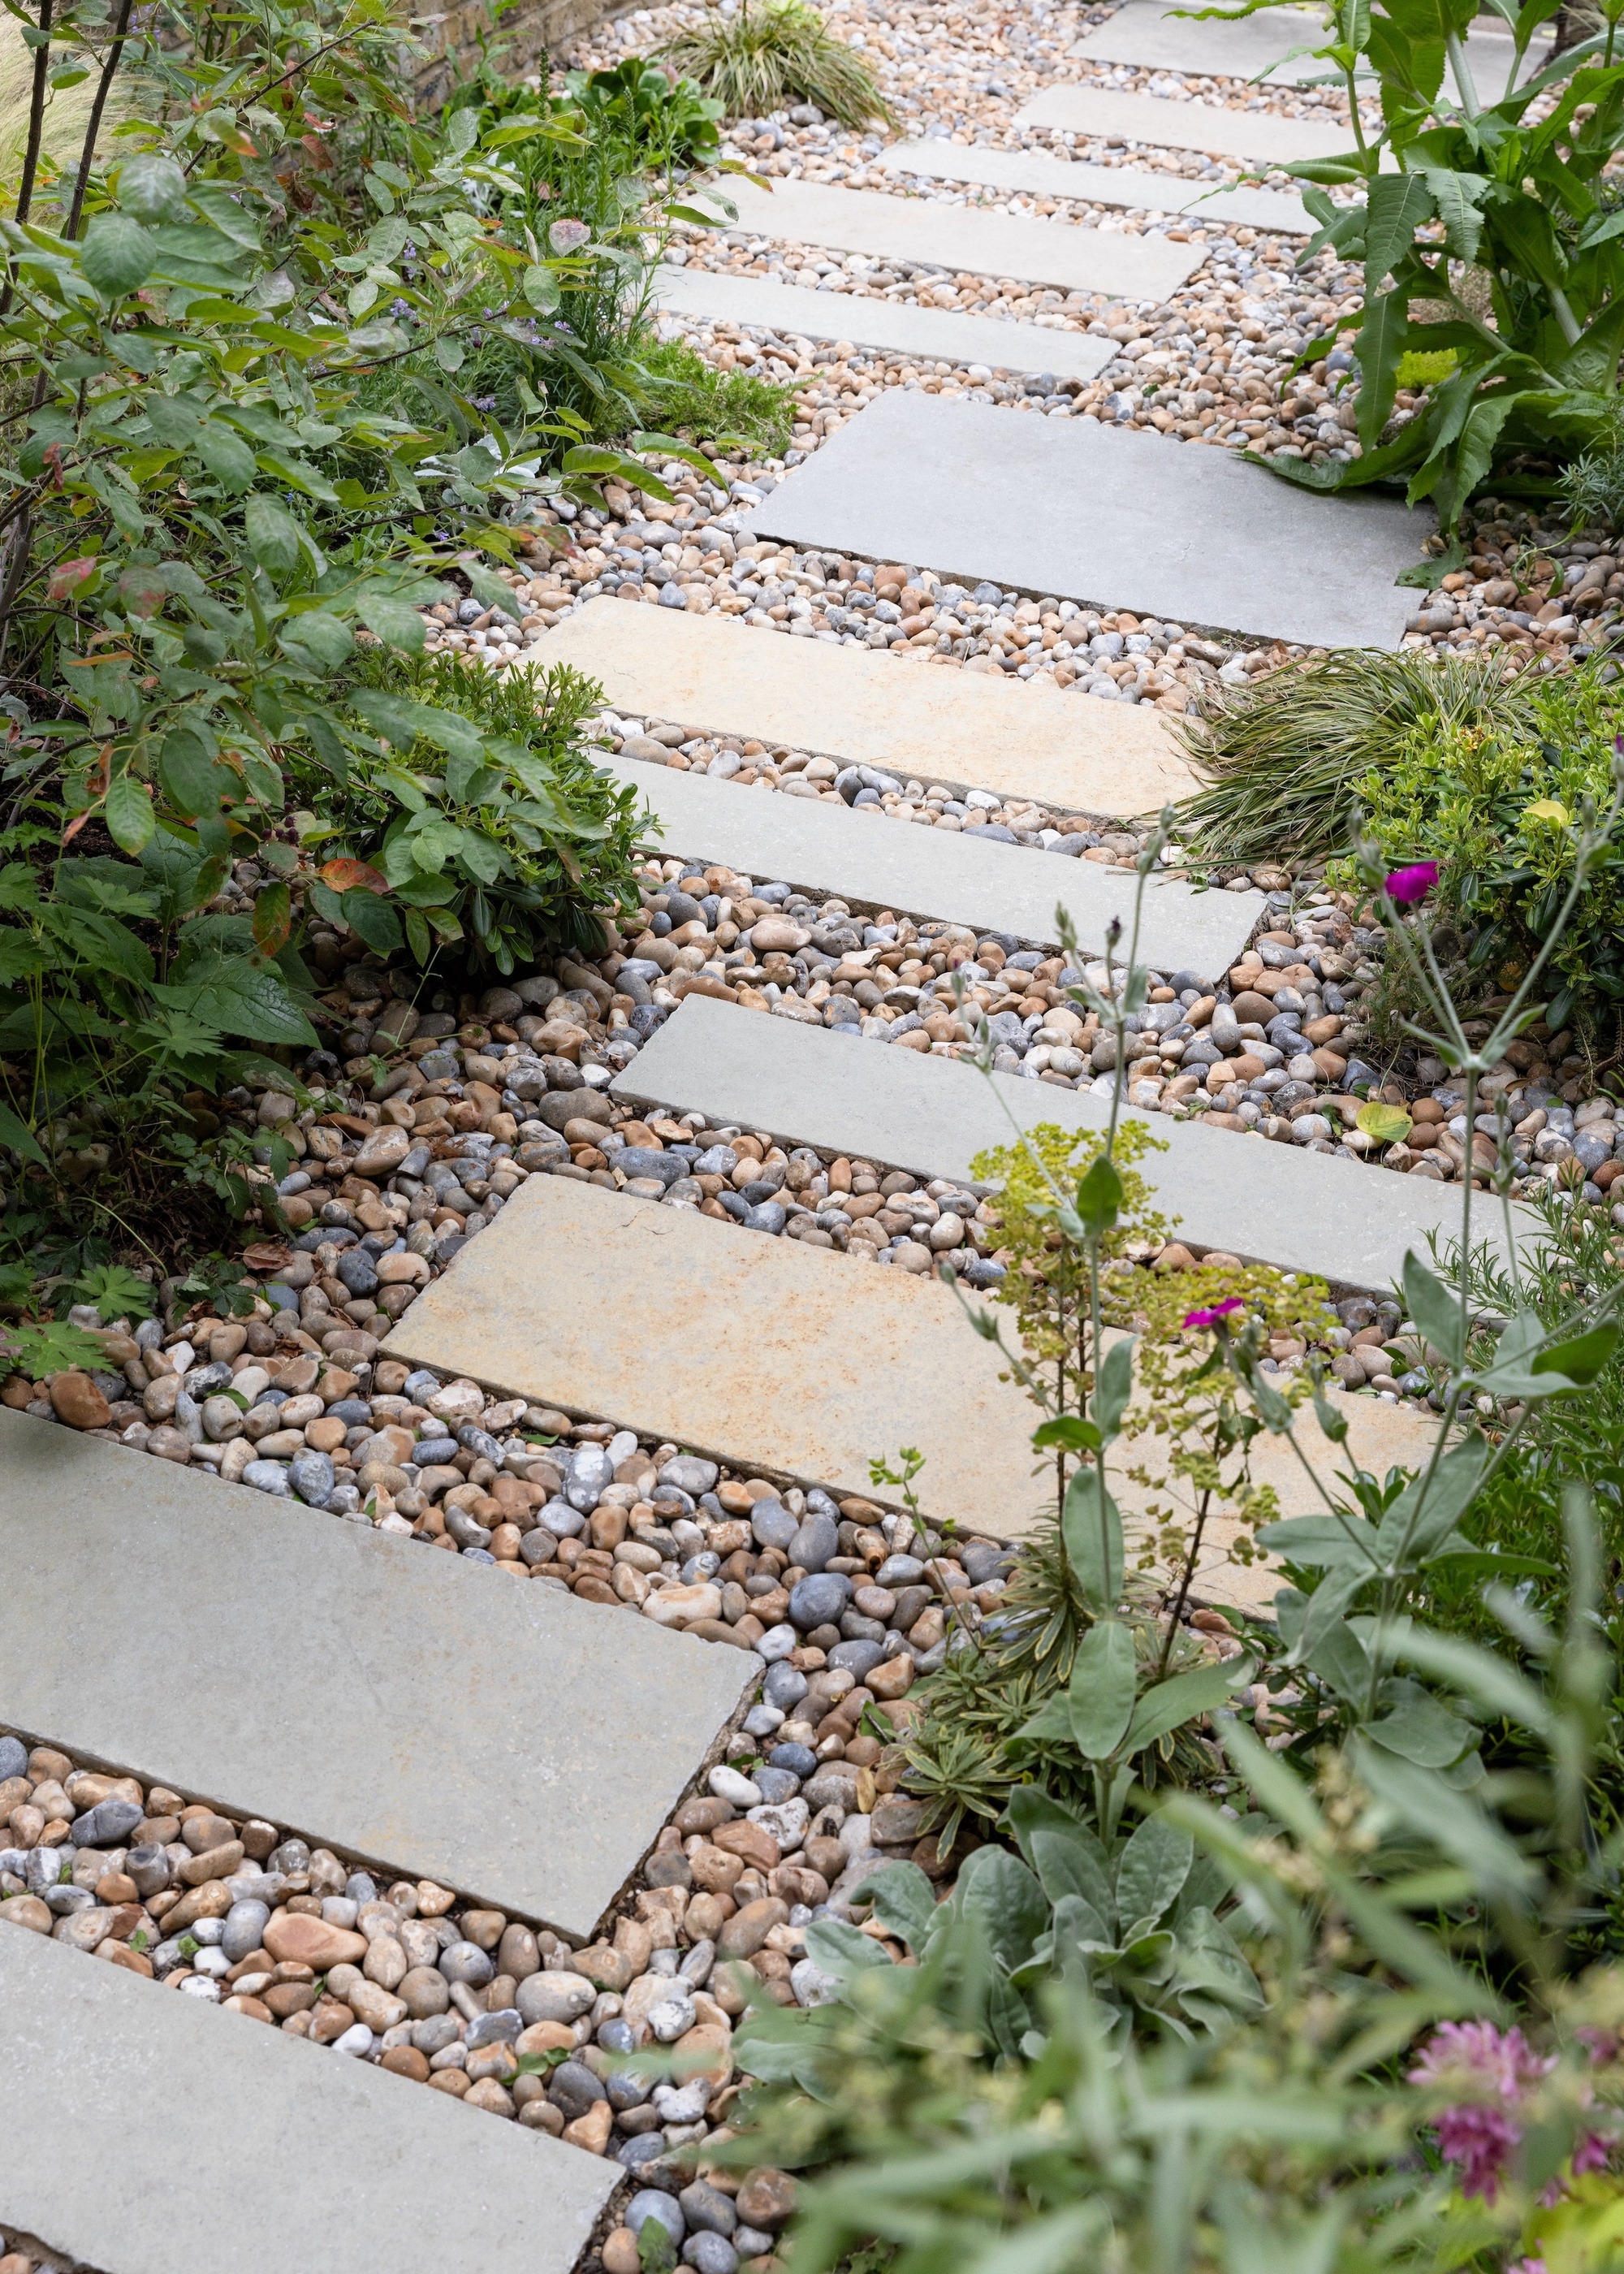
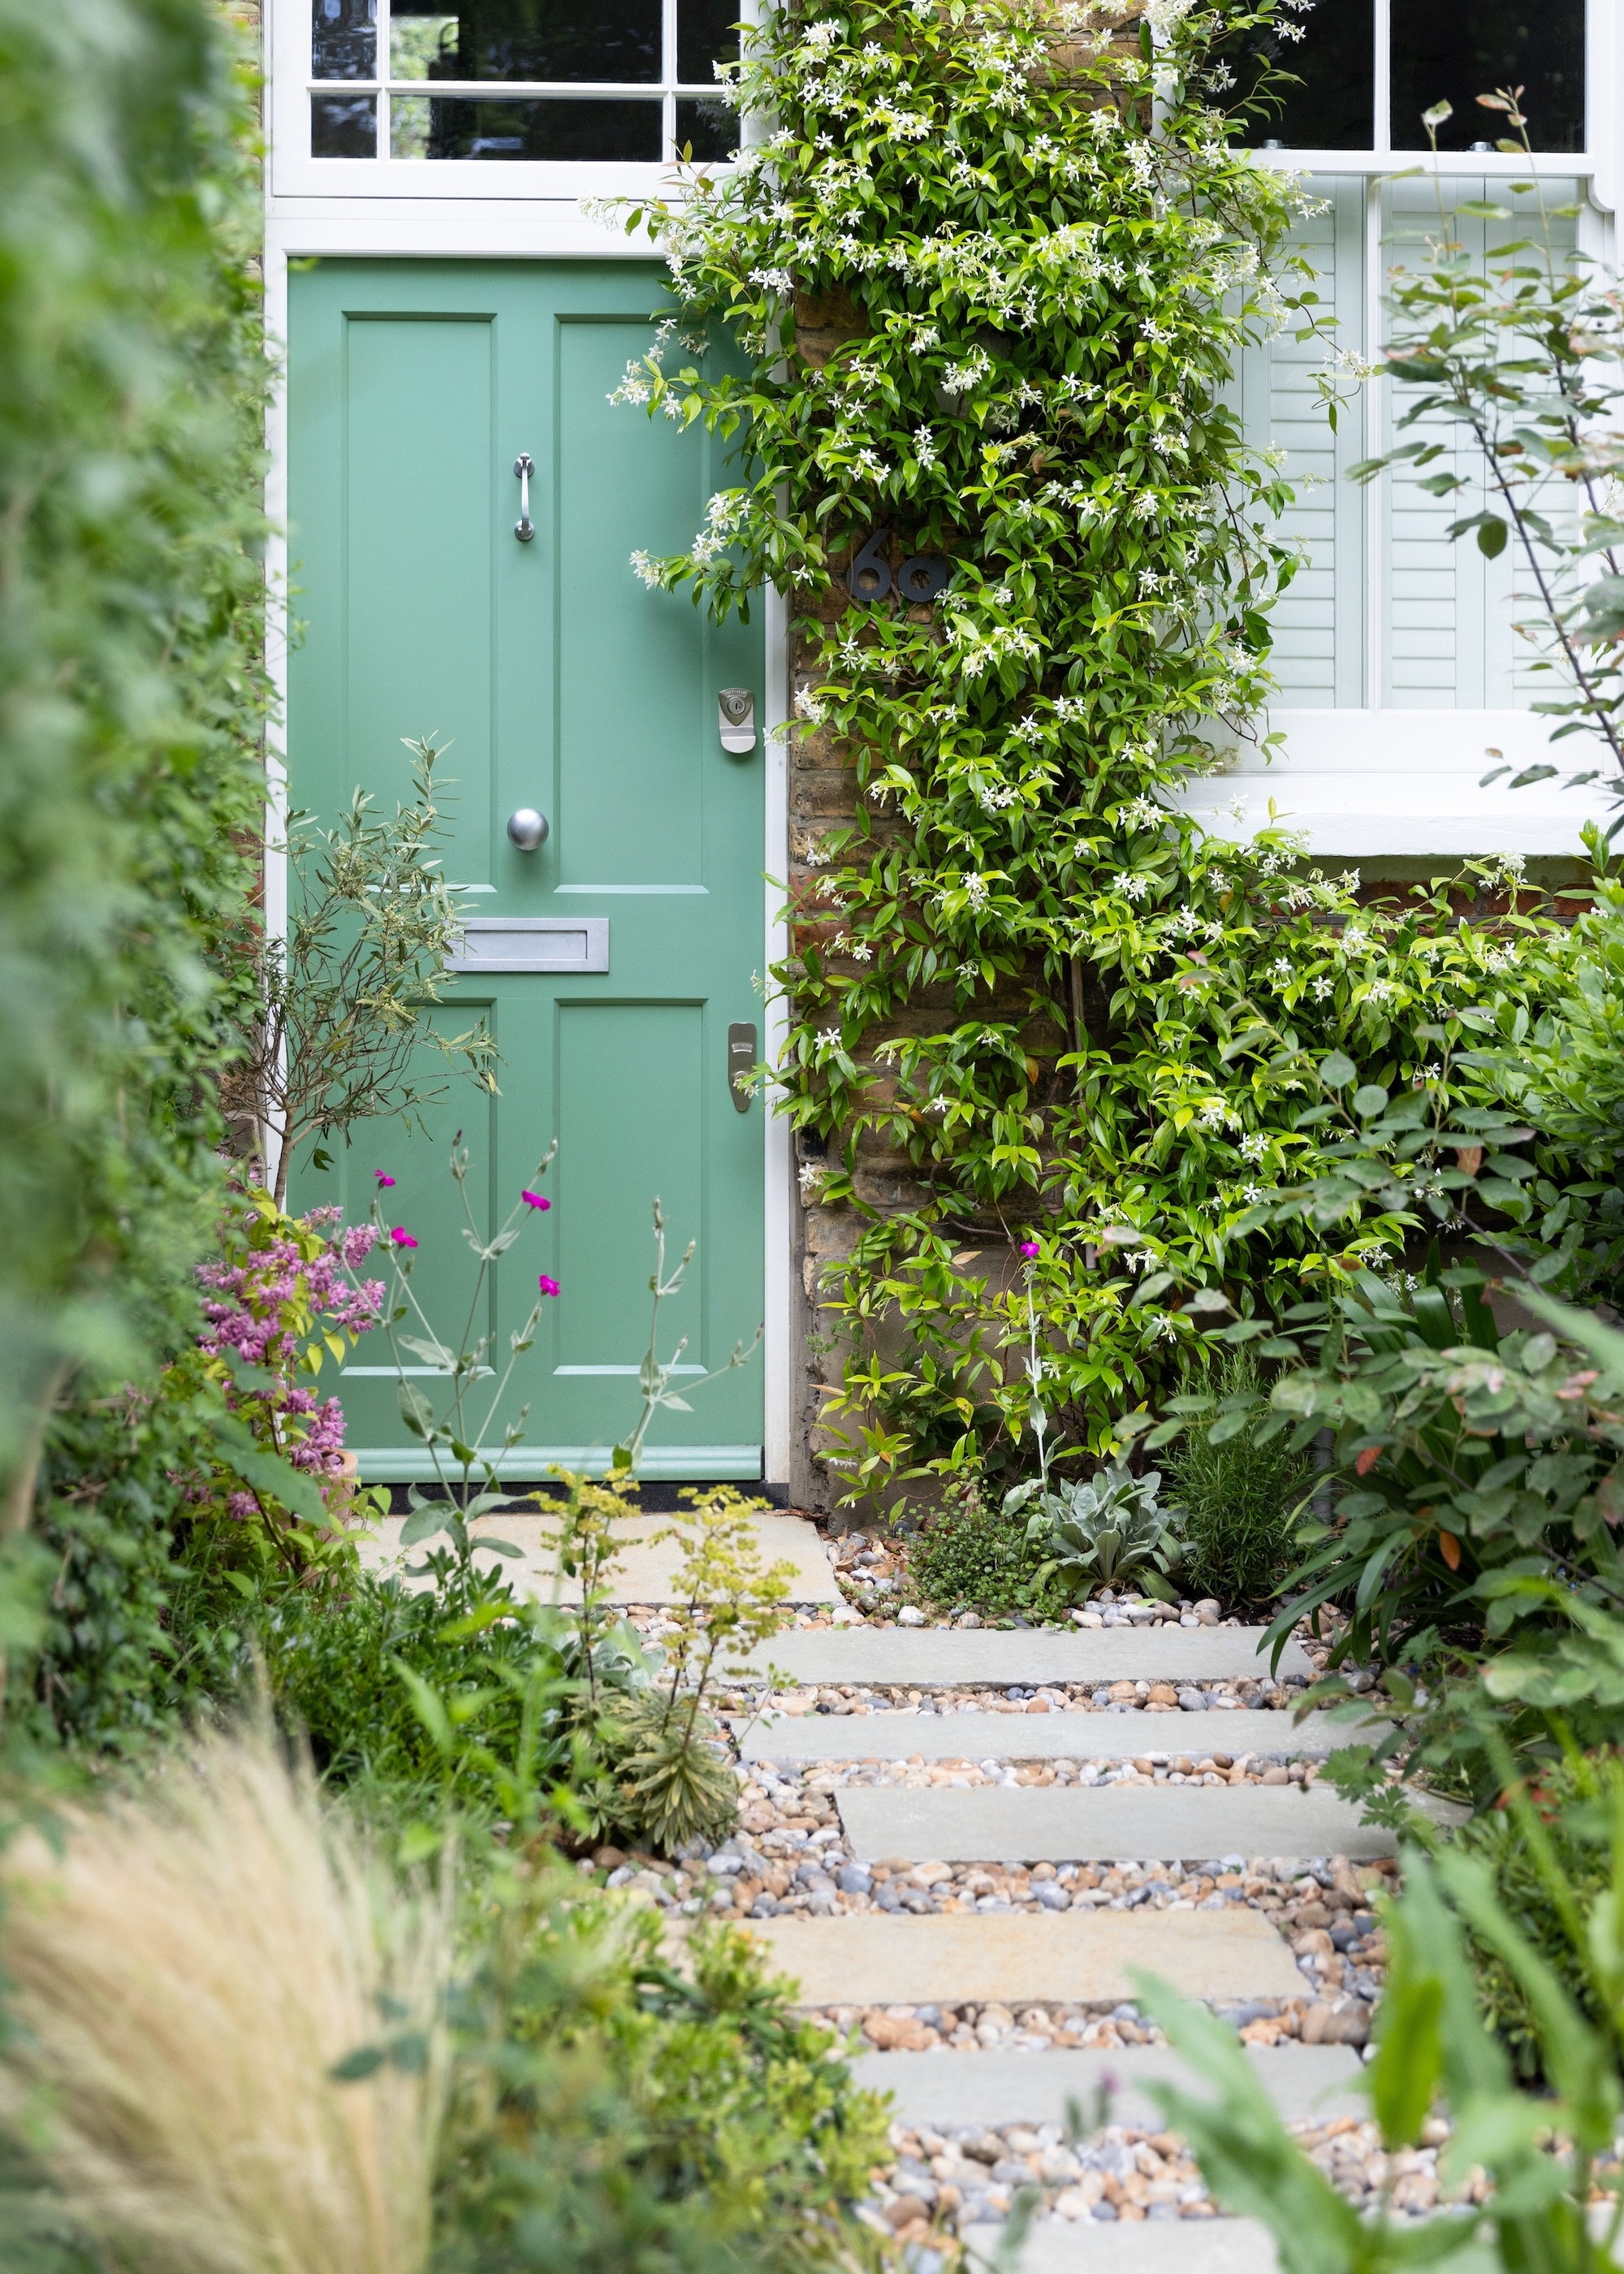
Using a permeable surface such as pebbles or gravel between the slabs is a stylish and subtle way to incorporate drainage.
(Image credit: Rachel Oates. Design: East London Garden Design)
When planning your modern garden path, drainage may not be a priority. But just as inadequate drainage can be a serious landscaping mistake that results in rainwater remaining in your yard, it can also pose a slipping hazard on a path. The dangerous combination of rainwater accumulation and fallen leaves can be reduced using subtle drainage techniques, such as permeable surfaces such as pebbles or gravel between slabs.
“Slips often start with standing water,” explains Gina. “Incorporate a cross slope of 1:60-1:80 on paths and patios, insert discrete gutter slot drains on doorsteps and path bottoms, and use permeable substrates where possible (e.g. for resin bound floors or paving stones). Break up long slopes with small level steps. If a path must be steep (over 1:20), add a simple handrail and a grip Add surface so that it is forgiving even in frost.”
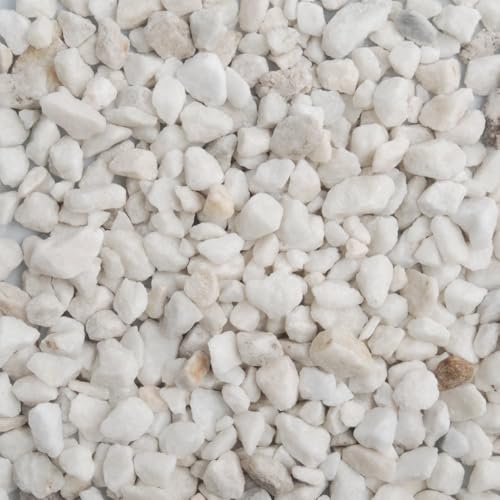
Safe green
Bag of decorative gravel,
4. Reconsider wood and patio details
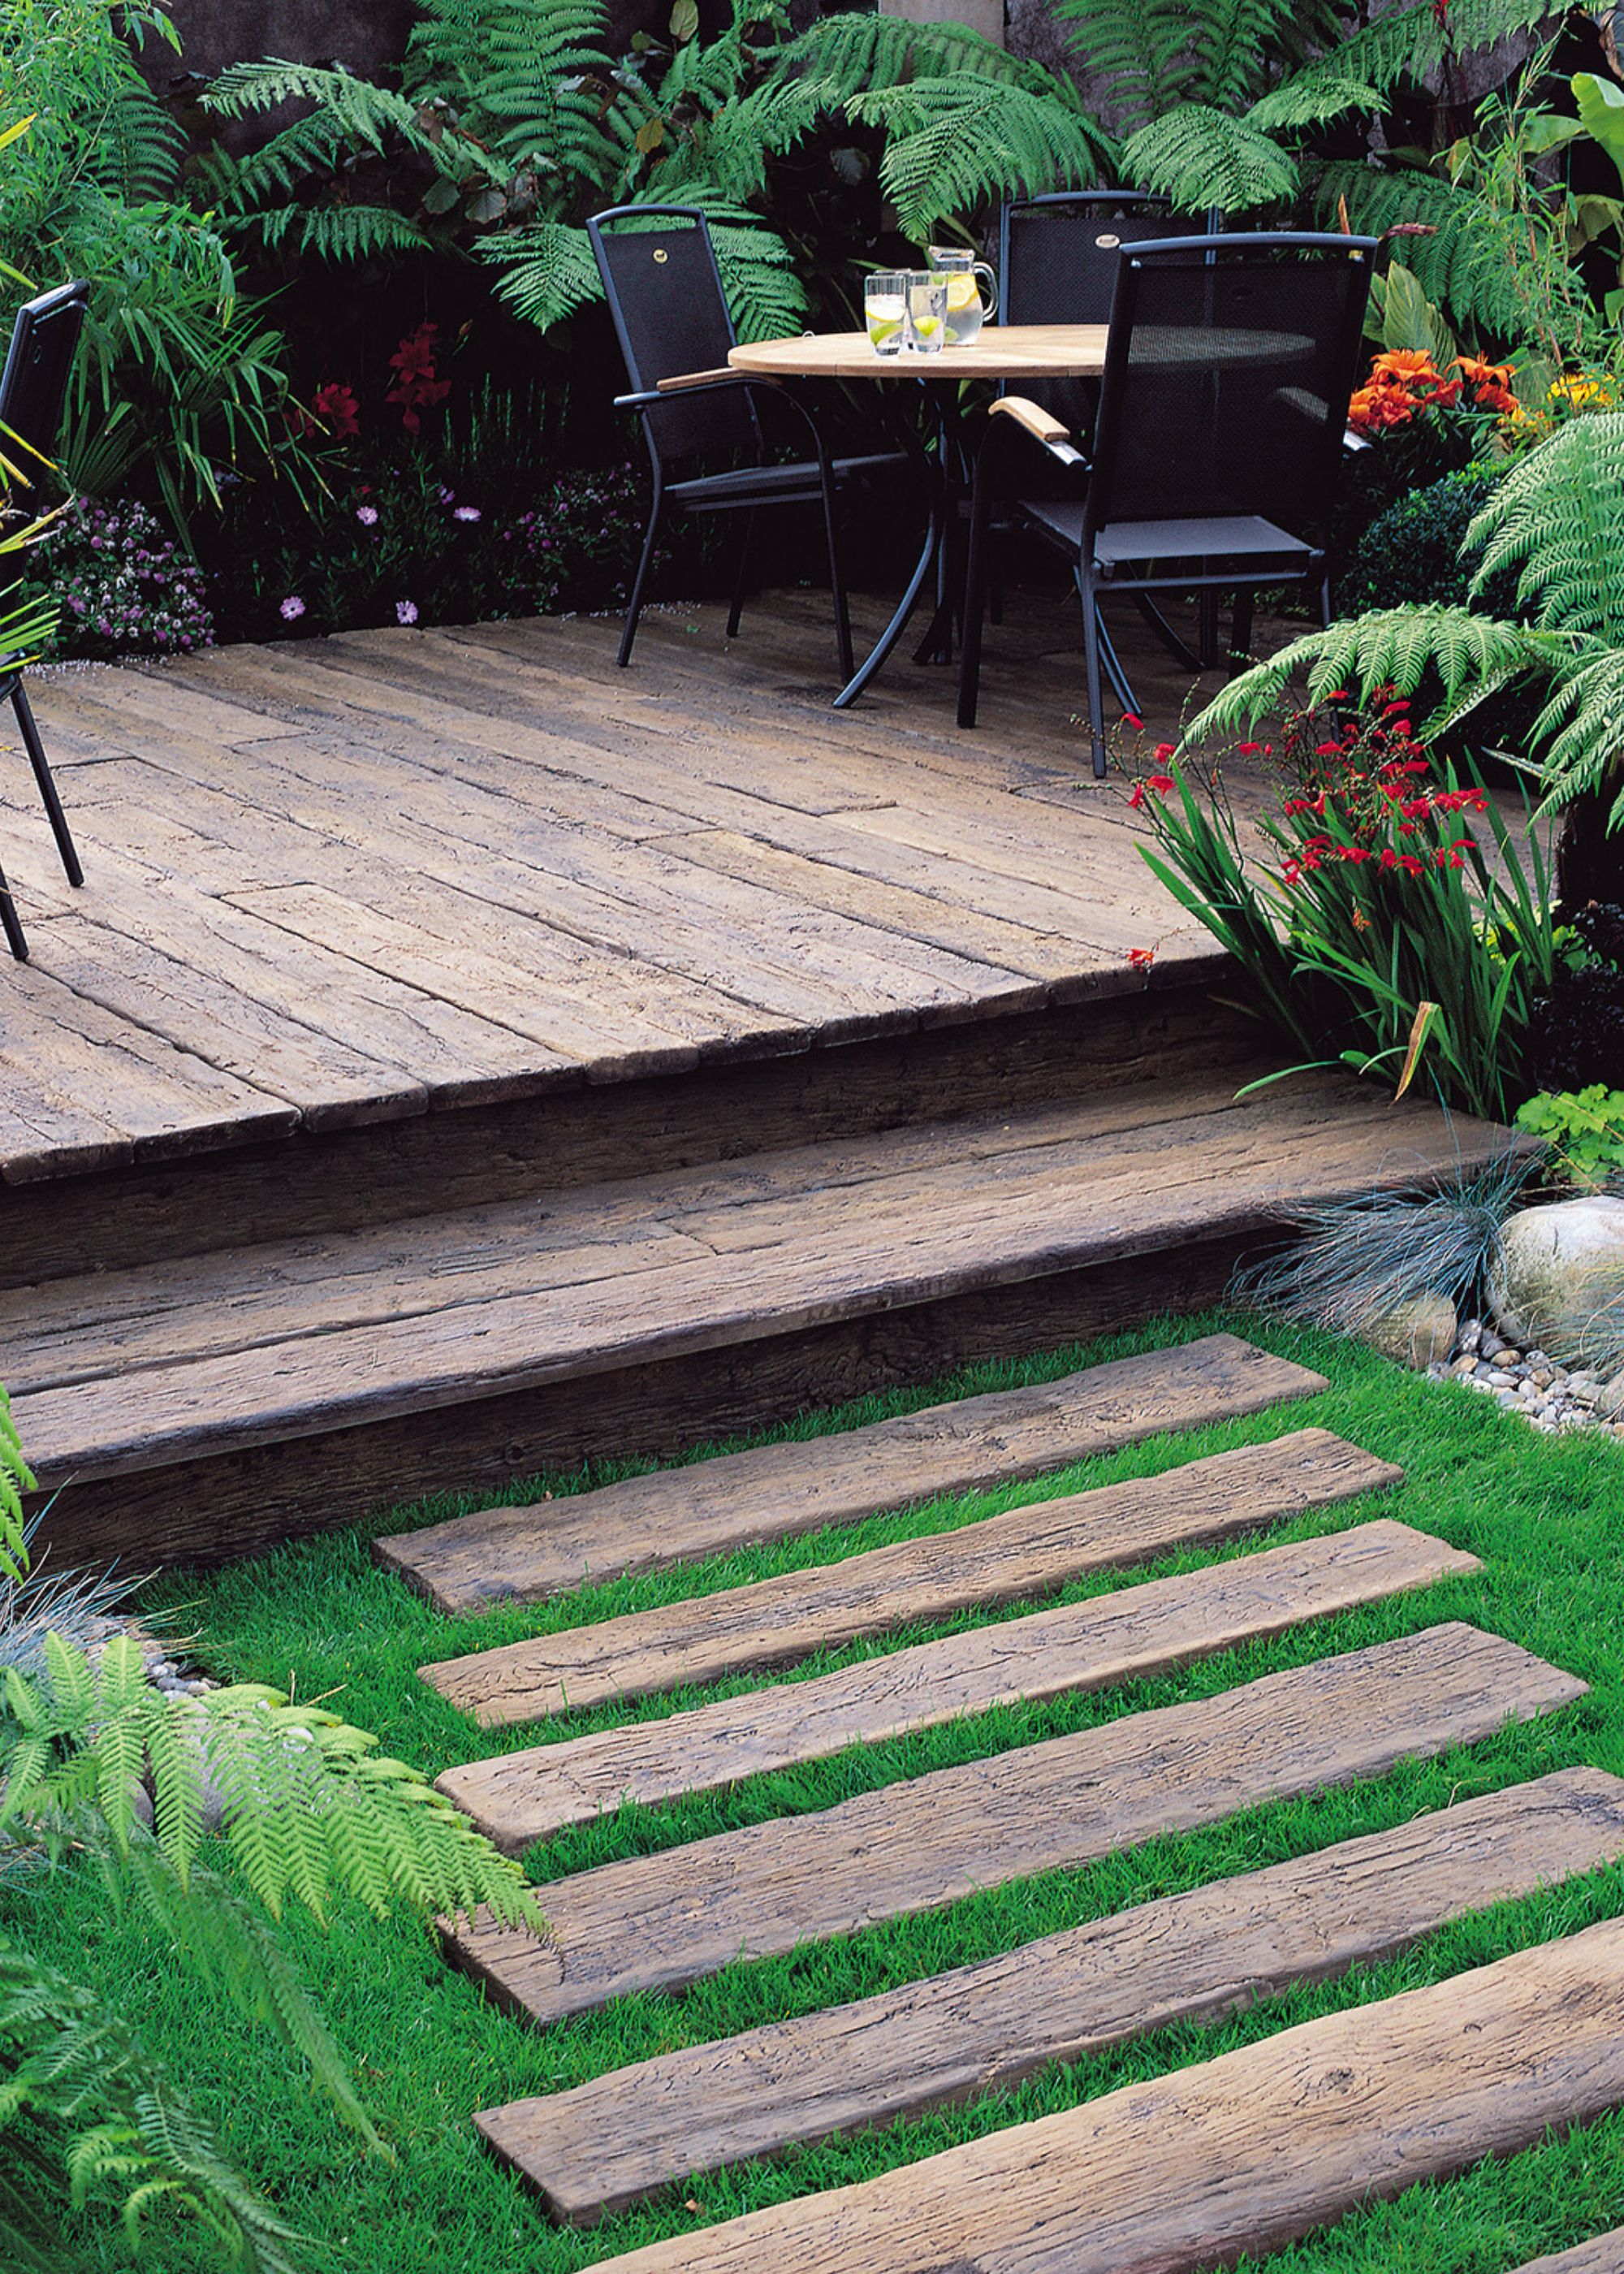
Leaving gaps between the wooden boards for drainage will prevent rainwater from accumulating.
(Image credit: Vintage Garden House Design)
While many front yard paths are often made of tiles, slabs, or stone, some backyard paths are made of wood, particularly those leading from the patio. Cleaning a wooden path and removing algae buildup is part of any fall preparation, but you can also take other steps.
“Traditional softwood decking is notoriously slippery in the winter,” says Gina. “If you're replacing it, opt for grippy composite panels with deep embossing and a matte finish. If you're keeping wood, you can retrofit GRP anti-slip strips (screw-on) or roll a resin grain coating onto the main running line.”
“Laying the boards perpendicular to the direction of travel, leaving 5-6mm gaps for drainage and setting a slight cross slope so that water runs off the surface and doesn’t get stuck will also help prevent a wooden path from becoming slippery.”
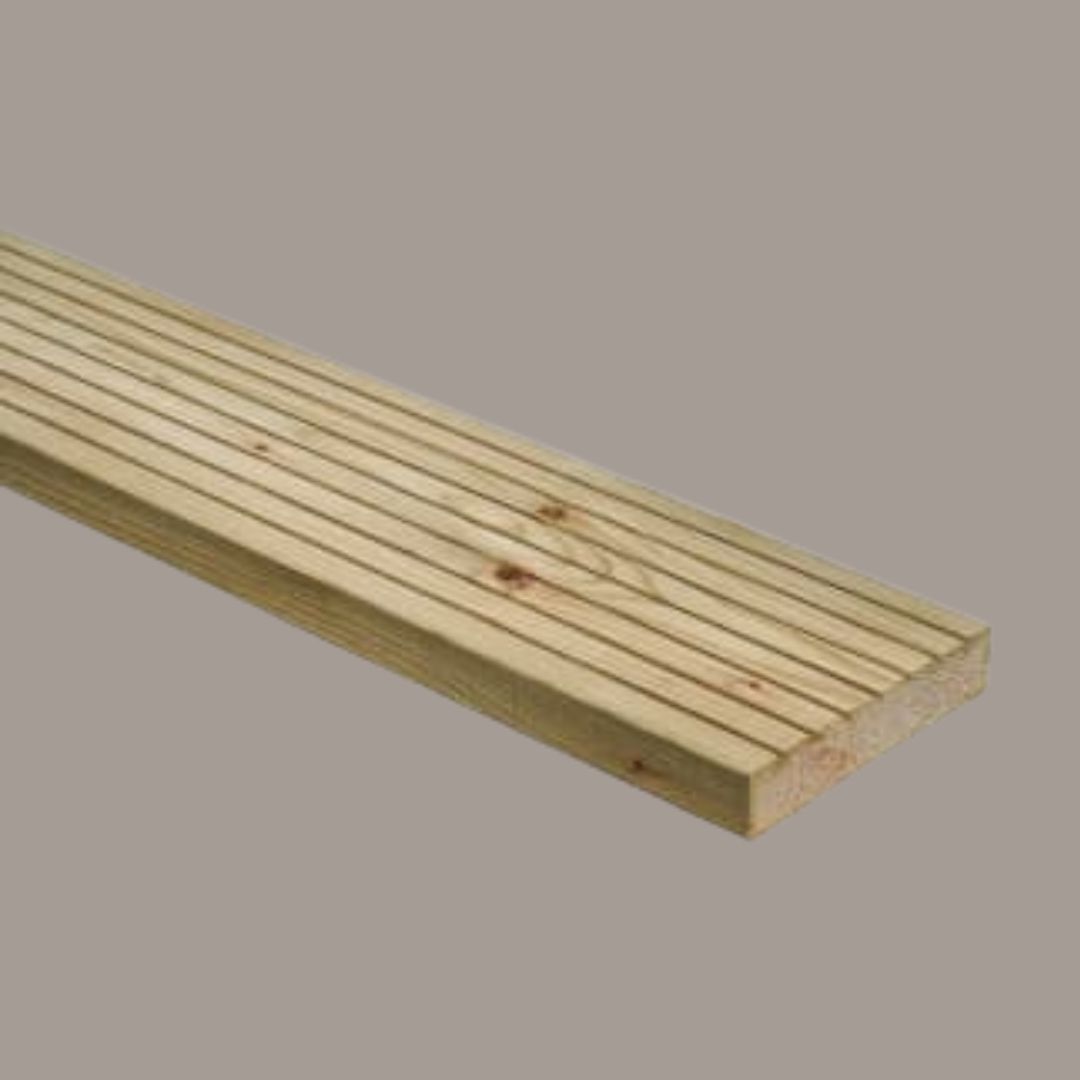
Wickes
Standard treated decking board
5. Create contrast with edges
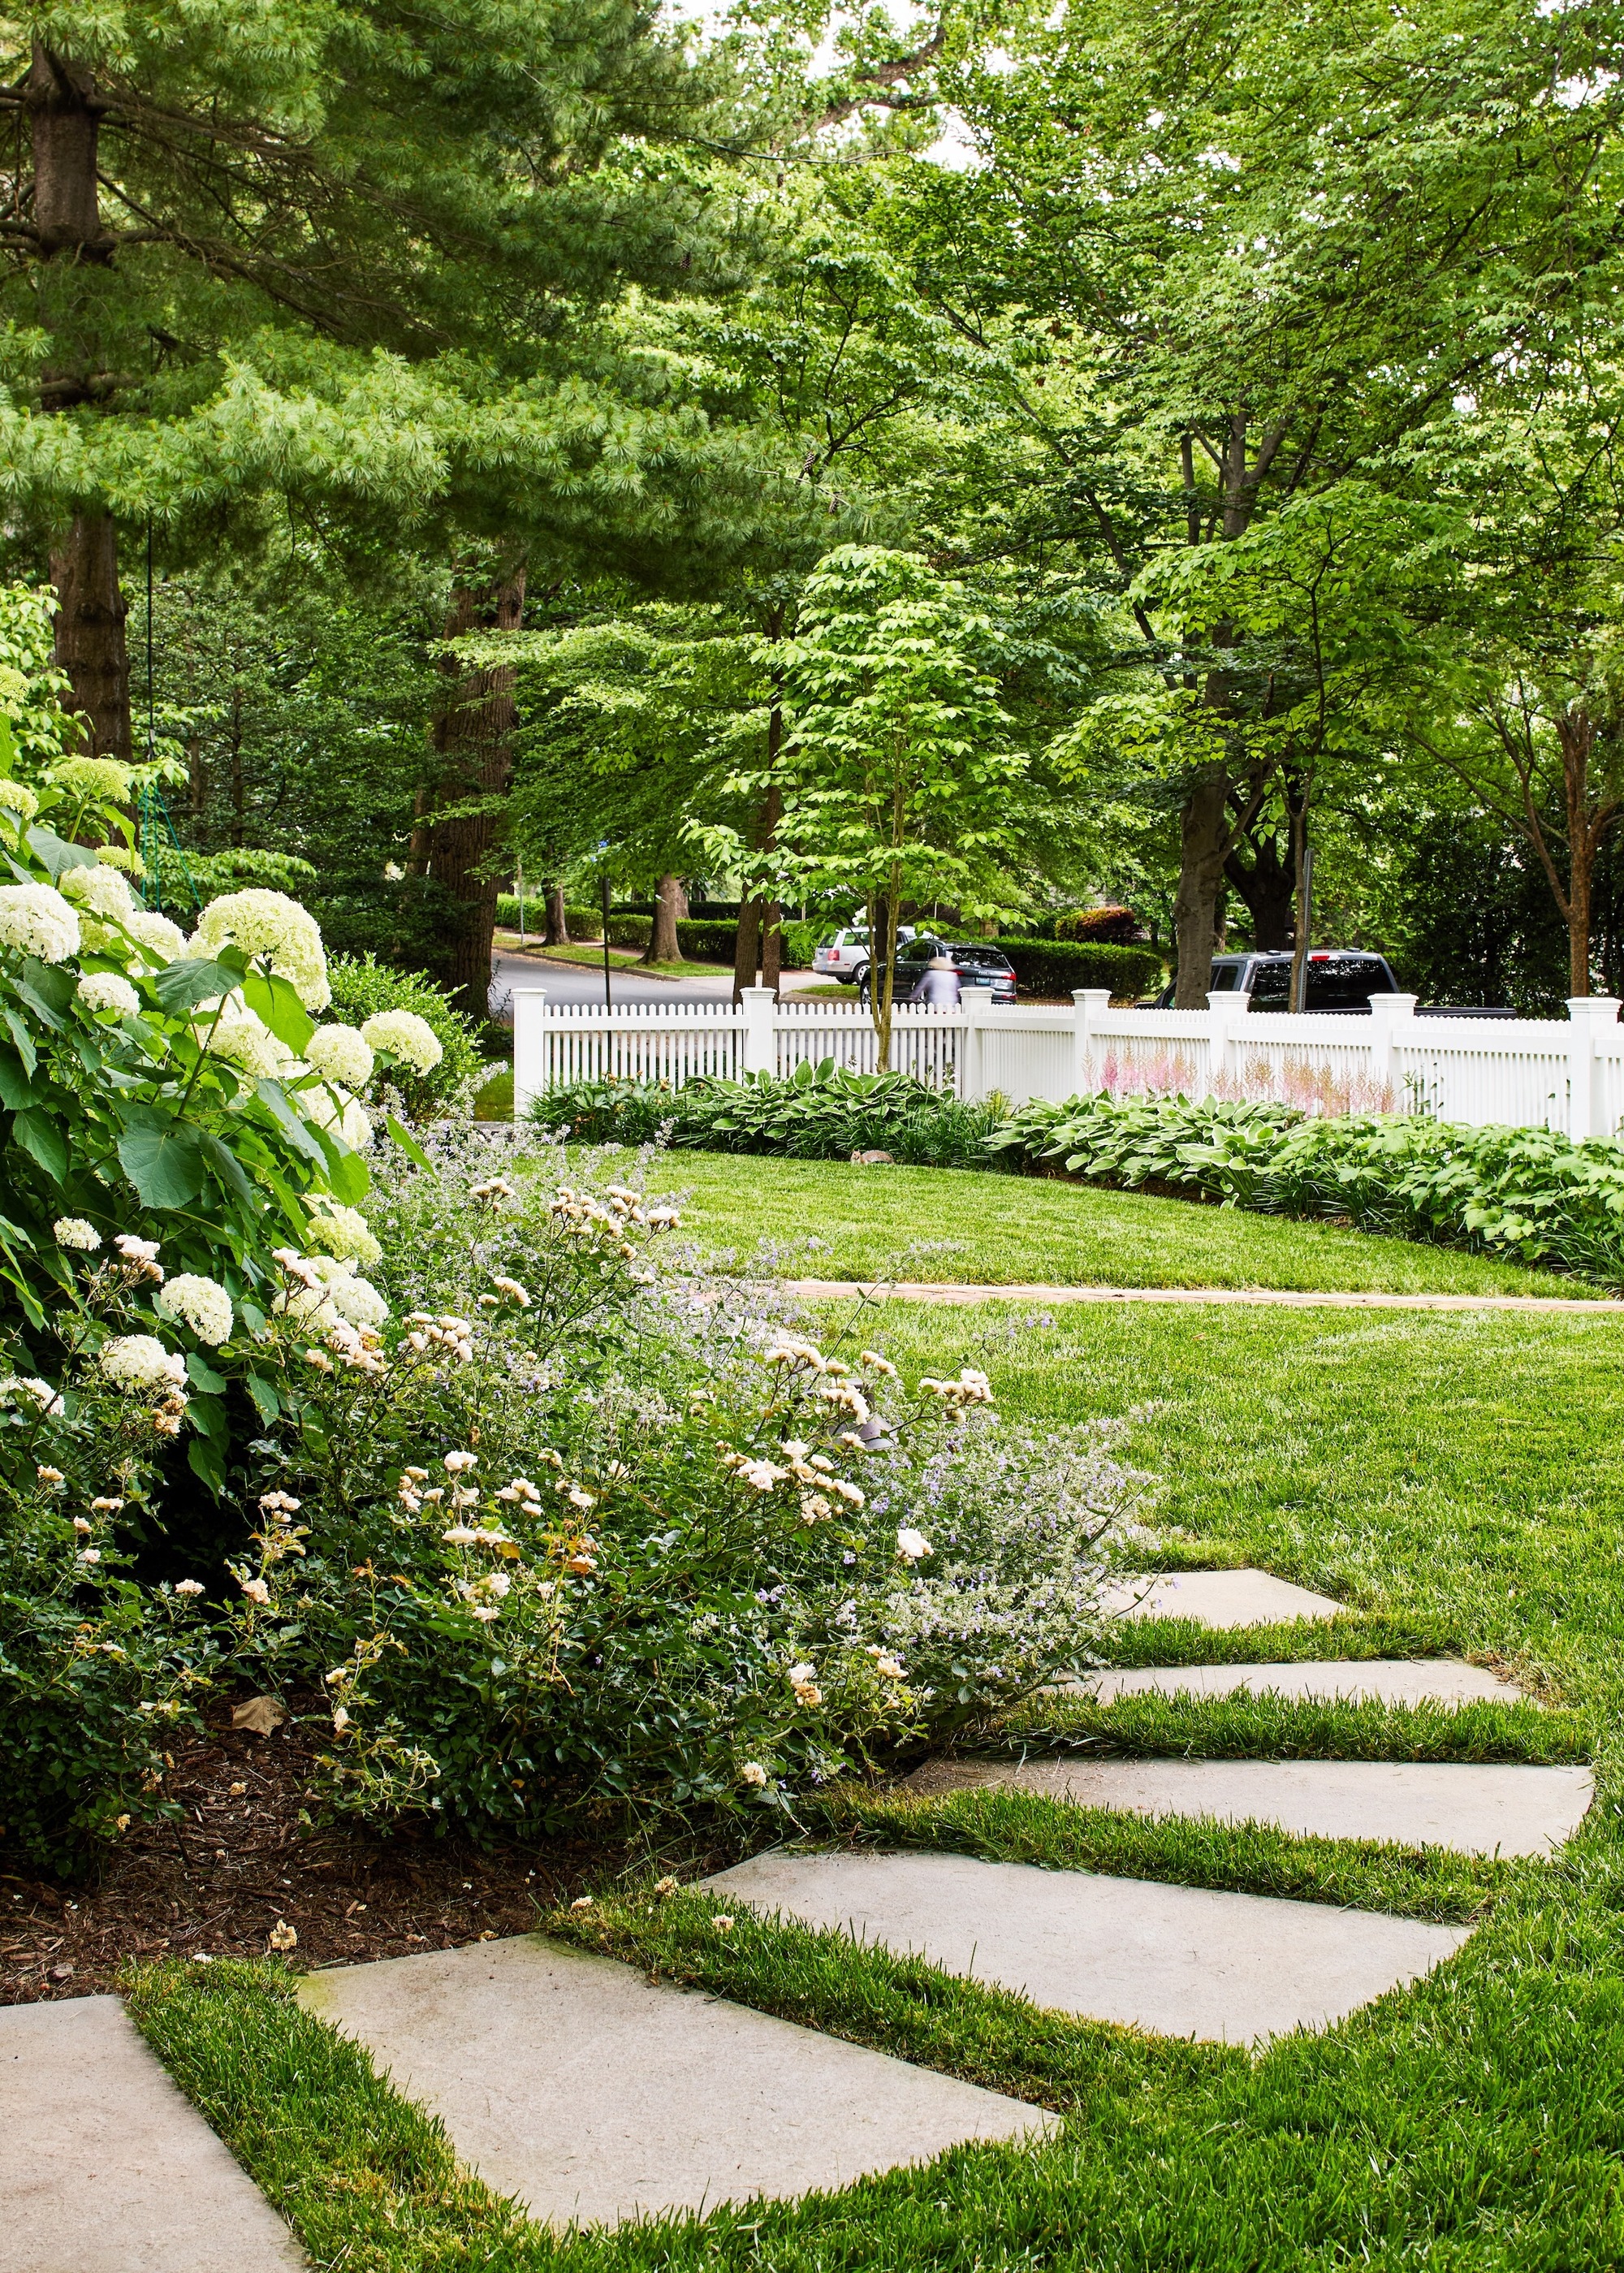
Edging a path with gravel and changing the laying pattern is a clever way to influence the direction of travel when visibility is poor at night.
(Image credit: Rachel Oates. Design: East London Garden Design)
The surface condition of the path is of course important to avoid the risk of slipping. But so is the ability to both see and feel the path beneath your feet, especially if it is a winding path rather than a straight one. This can be achieved through material selection and subtle design features in your garden.
“Good visibility is a safety feature,” says Gina. “To reinforce this, border paths with contrasting pavers or a metal strip, add contrast at steps, and keep joints consistent so the eye can ‘read’ the route.”
6. Provide adequate lighting
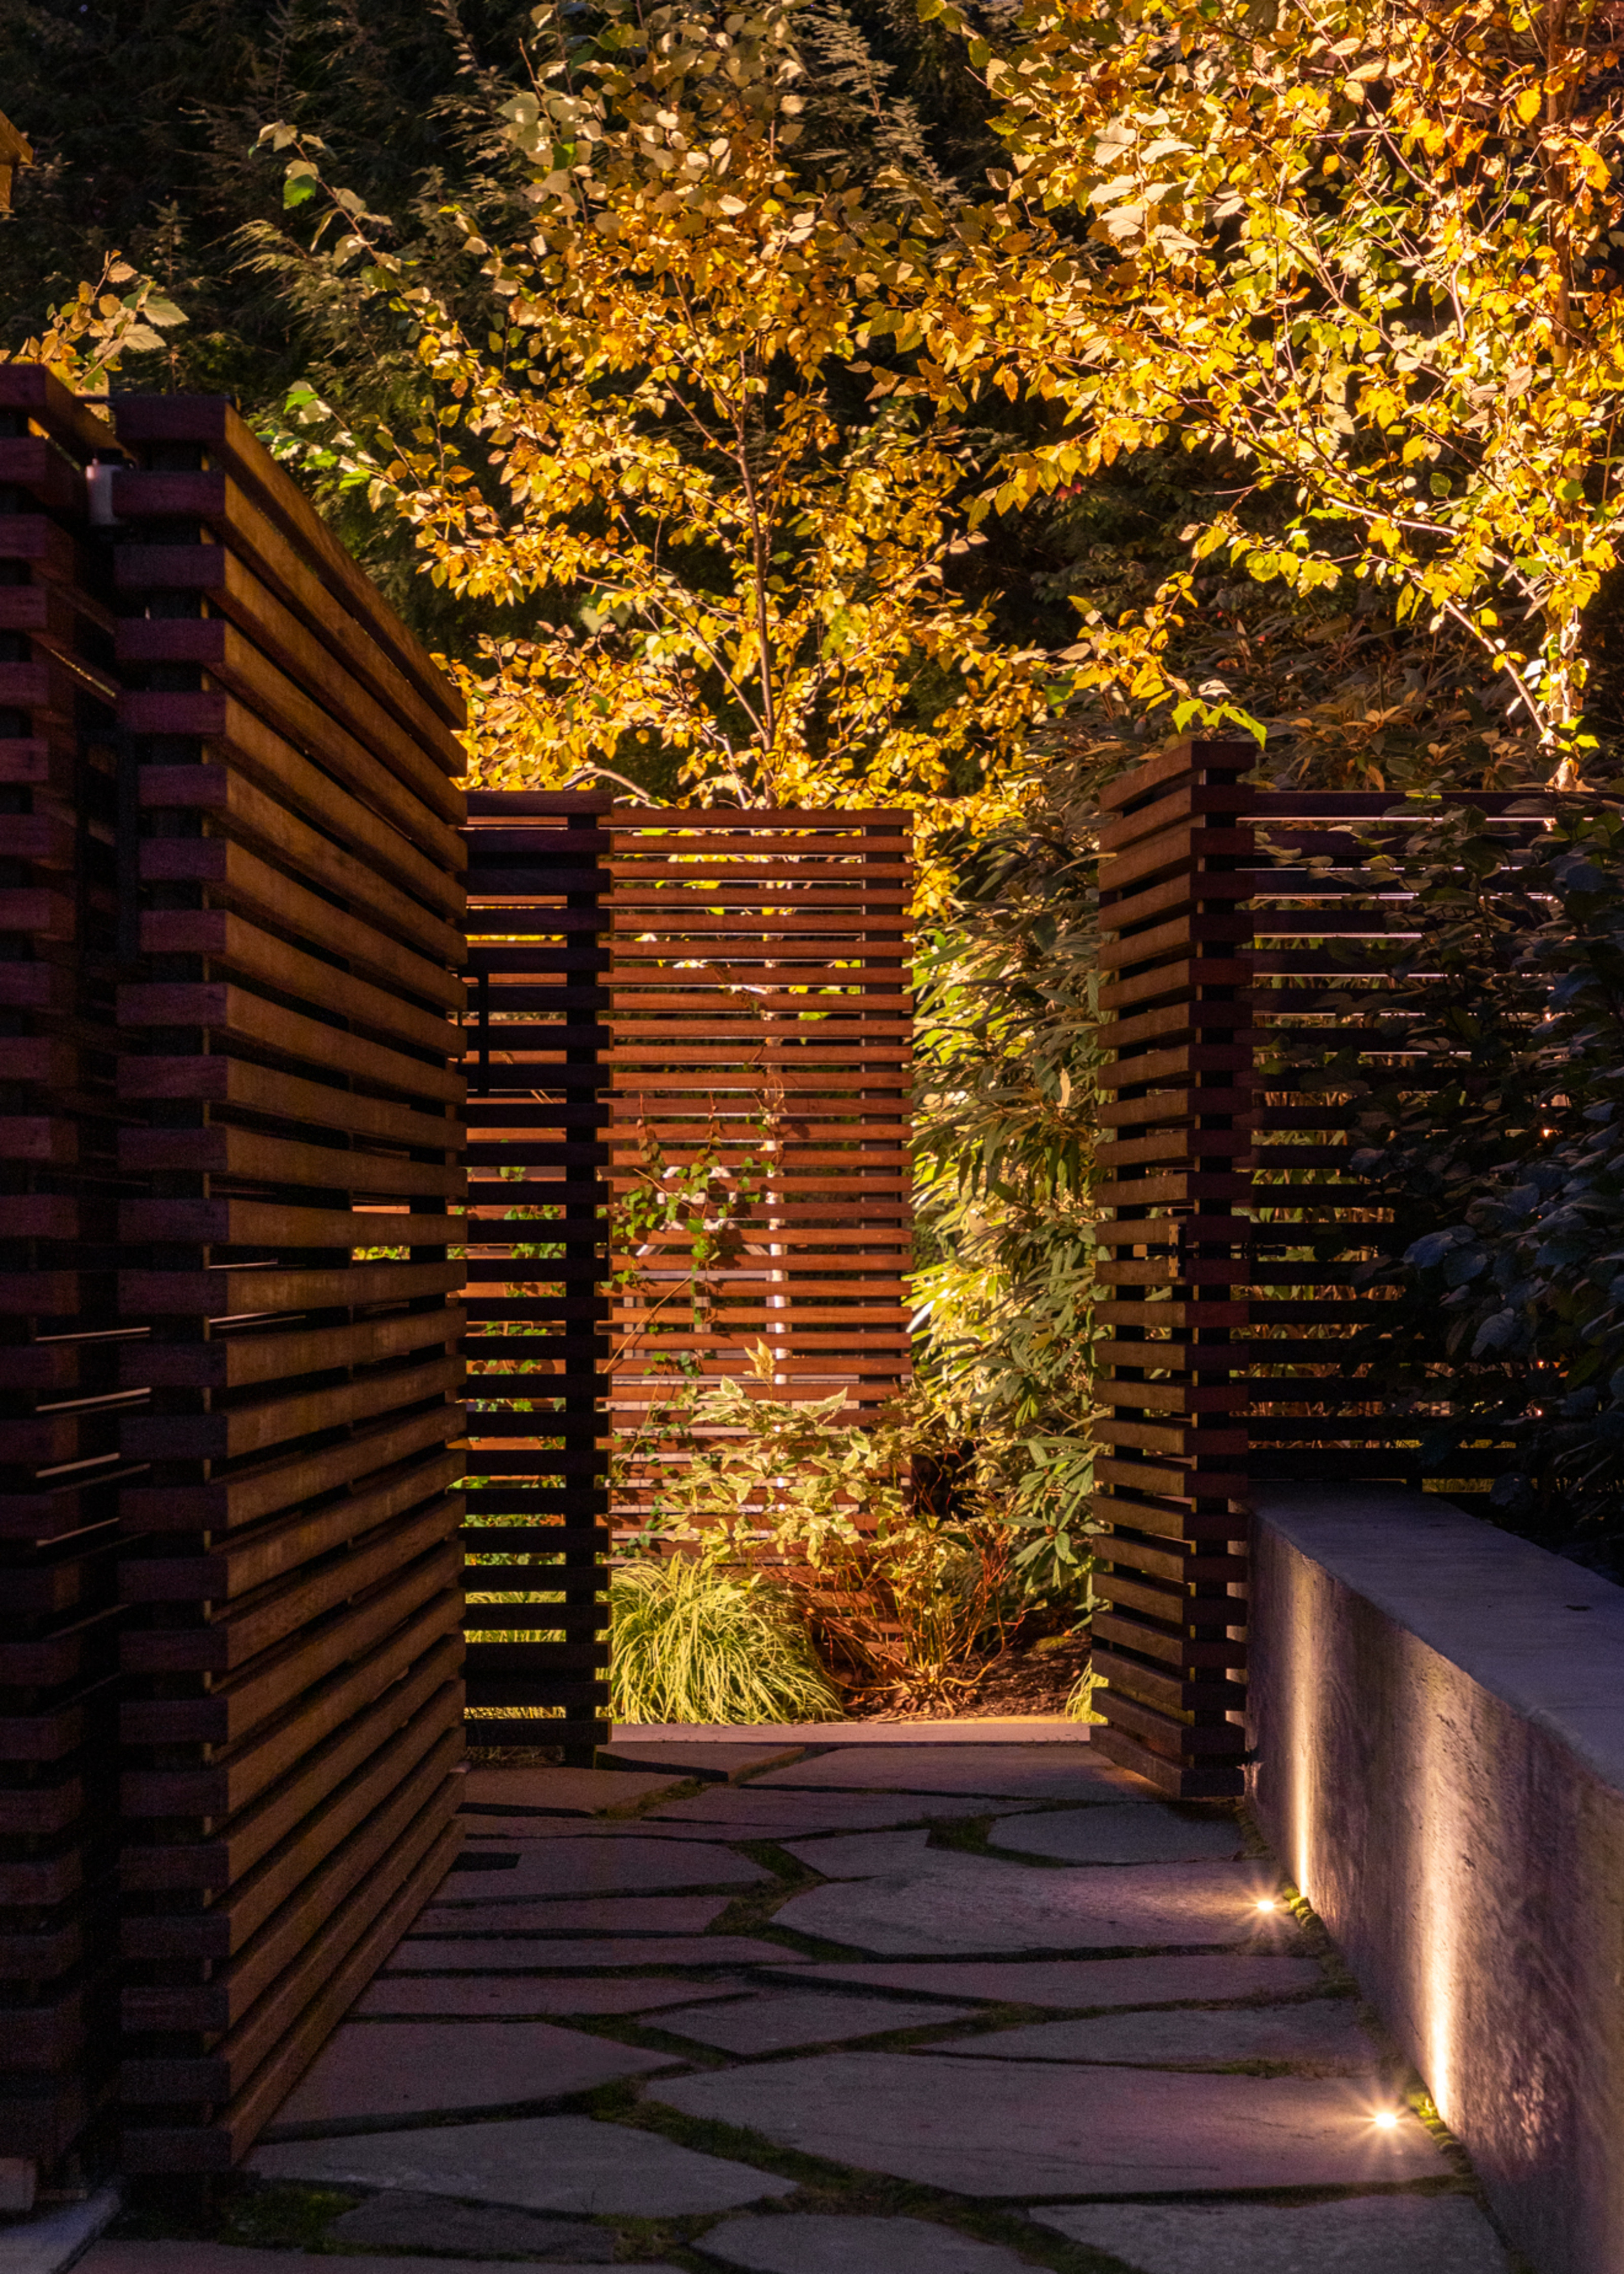
Floor sensor lights can illuminate a path if necessary.
(Image credit: Richardson & Associates)
Well-placed porch and patio lighting is another way to keep a garden path from feeling dangerous in the winter. If you notice puddles or icy spots on garden paths, you and others can better avoid them, especially when it is dark. Therefore, make sure your walkways are adequately lit before night falls.
“While proper lighting is not a material or direct design element in itself, it is essential to safety on a garden path, especially when wet or icy,” says Adam. “Strategically placed path lights can illuminate the surface and highlight slippery areas or elevation changes that would otherwise be overlooked. This is especially important for paths that are used after dark.”
“Low-glare, warm white (approx. 3000 K) lighting – bollards, recessed step lights or LEDs under the rail on sensors – will help you see wet leaves and black ice without blinding the room,” advises Gina.

Solpex
Solar lights for outdoor use
FAQs
Why is it important to care for your landscape before winter?
Caring for your landscape before winter is essential maintenance. Just as you would ensure the gutters on your property are clean and any leaks are repaired, it is important to sweep leaves and debris from paths and patios and remove algae from decking or boardwalks before winter sets in to avoid slippery surfaces as this reduces the risk of accidents or damage.
As described above, adding drainage, structure, or edging to an existing path can also make it safer. Ensuring that outdoor lighting is working and any burnt out bulbs have been replaced will also increase safety.
When life gets busy, it's easy to overlook garden care, but it's worth taking a few hours to tend to the landscape before the onset of winter. Preparation always saves time in the long run. Cleaning and maintenance help materials last longer and, along with design tricks recommended by our experts, can prevent accidents. (Believe me, fracture clinics are crowded in the fall and are no fun.) You won't regret taking steps to make your sidewalks safer.